


How to Hang Wall Art for Stunning Home Interiors
Selecting the right wall art can completely shift the feeling of a space, turning blank walls into a canvas that reflects your unique taste and style. For design-conscious homeowners seeking both creativity and balance, finding art that fits your room’s scale and color scheme is key. With practical guidance on measuring, placement, and layout, you will discover how to showcase your favorite pieces for a polished look that elevates any Canadian, American, or European home.
Table of Contents
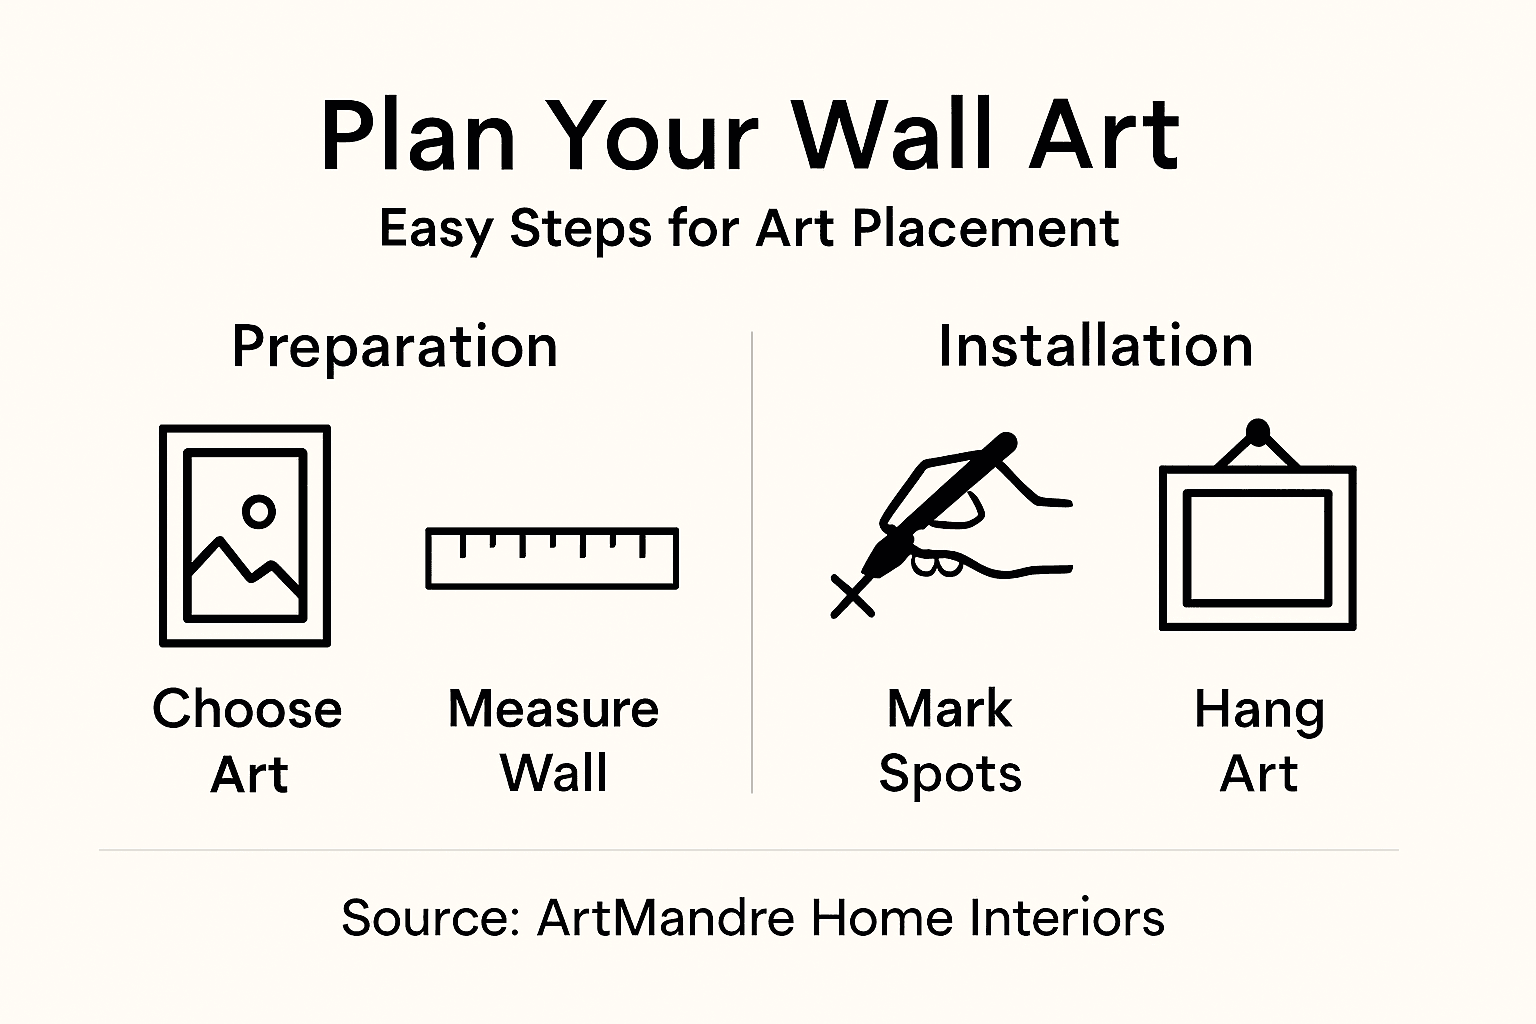
- Step 1: Choose The Ideal Wall Art And Spot
- Step 2: Plan Your Layout With ArtMandre Posters
- Step 3: Gather The Right Tools And Supplies
- Step 4: Measure And Mark For Accurate Placement
- Step 5: Hang Your Art And Check Alignment
Quick Summary
| Key Message | Explanation |
|---|---|
| 1. Choose art that resonates with you | Select wall art that reflects your personal style and complements your home’s design theme for a cohesive look. |
| 2. Plan your layout strategically | Use templates or tape to mock-up poster layouts and ensure proper visual balance before hanging. |
| 3. Use proper tools for hanging | Equip yourself with essential tools to securely and accurately hang wall art, avoiding potential damage during installation. |
| 4. Measure correctly for placement | Position artwork at eye level, using precise measurements and guidelines to ensure balanced and visually appealing arrangements. |
| 5. Assess alignment and lighting | After hanging, check alignment from different angles and consider lighting to enhance the overall presentation of your art pieces. |
Step 1: Choose the ideal wall art and spot
Selecting wall art is an art form that transforms empty spaces into personal narratives. When choosing wall art that complements your home design, start by understanding your personal aesthetic and the overall design theme of your living space. Wall art is more than decoration it sets the emotional tone and introduces color palettes that breathe life into rooms.
Consider the architectural elements and scale of your room when selecting artwork. Large walls require substantial pieces that make a statement while smaller spaces benefit from carefully curated collections. Measure your wall space precisely and think about visual balance most artwork should occupy approximately 50 to 75 percent of the available wall width. Look for pieces that resonate with your existing color scheme and furniture style whether you prefer modern minimalist designs or rustic vintage charm.
Here’s a guide to selecting the right wall art for any space:
| Room Type | Recommended Art Size | Suggested Style | Placement Tip |
|---|---|---|---|
| Living Room | Large statement piece | Abstract or landscape | Center above sofa at eye level |
| Bedroom | Medium-sized frames | Soft colors or personal photos | Above headboard, two-thirds bed width |
| Kitchen | Small grouped prints | Food themes or vintage ads | Near breakfast nook, grouped in clusters |
| Entryway | Tall vertical art | Bold graphics or mirrors | At eye level to greet guests |
Start by exploring artworks that genuinely speak to your personality. ArtMandre offers diverse collections ranging from retro map illustrations to vintage cocktail posters that can instantly elevate your interior design. When selecting a piece consider how it will interact with surrounding decor the lighting and the emotional atmosphere you want to create.
Pro tip: Before purchasing wall art create a paper template matching the artwork’s dimensions and tape it to your wall to visualize how the piece will look in your actual space.
Step 2: Plan your layout with ArtMandre posters
Creating a stunning wall art layout requires strategic planning and creative vision. Learn how to arrange posters without traditional frames to transform your living spaces into personalized galleries that reflect your unique style and aesthetic sensibilities.
Start by selecting a focal point in your room. This could be a large statement poster or a carefully curated collection of smaller prints that work together harmoniously. Map out your potential layout by using paper templates or painter’s tape to visualize the arrangement before making any permanent hanging decisions. Consider the visual weight and balance of your artwork keep larger pieces in the center and smaller prints as complementary elements around them.
ArtMandre offers diverse poster collections that can help you create dynamic visual narratives. Consider thematic groupings like vintage travel maps vintage cocktail illustrations or modern graphic designs that tell a cohesive story. Pay attention to spacing between frames typically 2 to 3 inches apart to create a professional and intentional look. For gallery walls aim for a mix of sizes and orientations that create visual interest while maintaining an overall sense of balance and harmony.
Pro tip: Use a laser level or smartphone app to ensure your poster layouts are perfectly aligned and create a professional looking display.
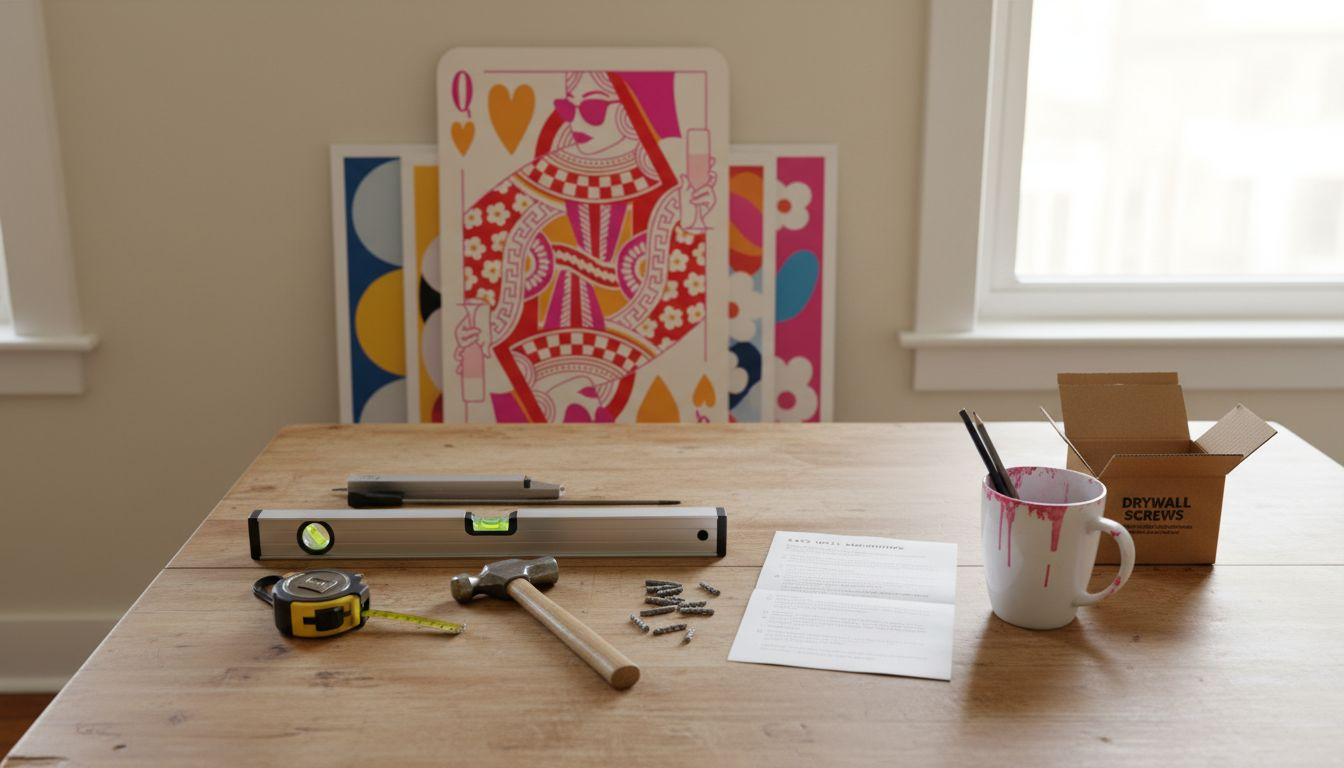
Step 3: Gather the right tools and supplies
Successfully hanging wall art requires more than just creativity it demands precision and the right equipment. Professional art hanging requires specialized tools that ensure your ArtMandre posters are mounted securely and beautifully.
Your essential toolkit should include a sturdy tape measure for precise measurements a reliable level (laser levels work best) a pencil for marking placement a hammer or electric drill wall anchors appropriate for your wall type and screws rated for your artwork’s weight. Consider the specific wall material you are working with drywall requires different anchoring techniques compared to brick or plaster walls. Select hardware that can support at least 1.5 times the weight of your chosen ArtMandre poster to guarantee a safe and stable installation.
Compare hanging techniques for best results:
| Hanging Method | Tool Required | Best For | Benefit |
|---|---|---|---|
| Nail & hook | Hammer | Light posters | Quick and simple setup |
| Wall anchors | Drill | Heavy or framed art | Prevents damage, supports weight |
| Adhesive strips | Level, ruler | Rental spaces, lightweight art | No wall damage, easily removed |
Before starting your project organize your tools and do a quick inventory. Check that you have multiple sizes of wall anchors drill bits and screws to accommodate different poster weights and wall materials. Having everything prepared beforehand will make the hanging process smoother and help you avoid unnecessary trips to the hardware store mid project.
Pro tip: Keep a small magnetic dish nearby to prevent screws and small hardware from rolling away during your wall art installation.
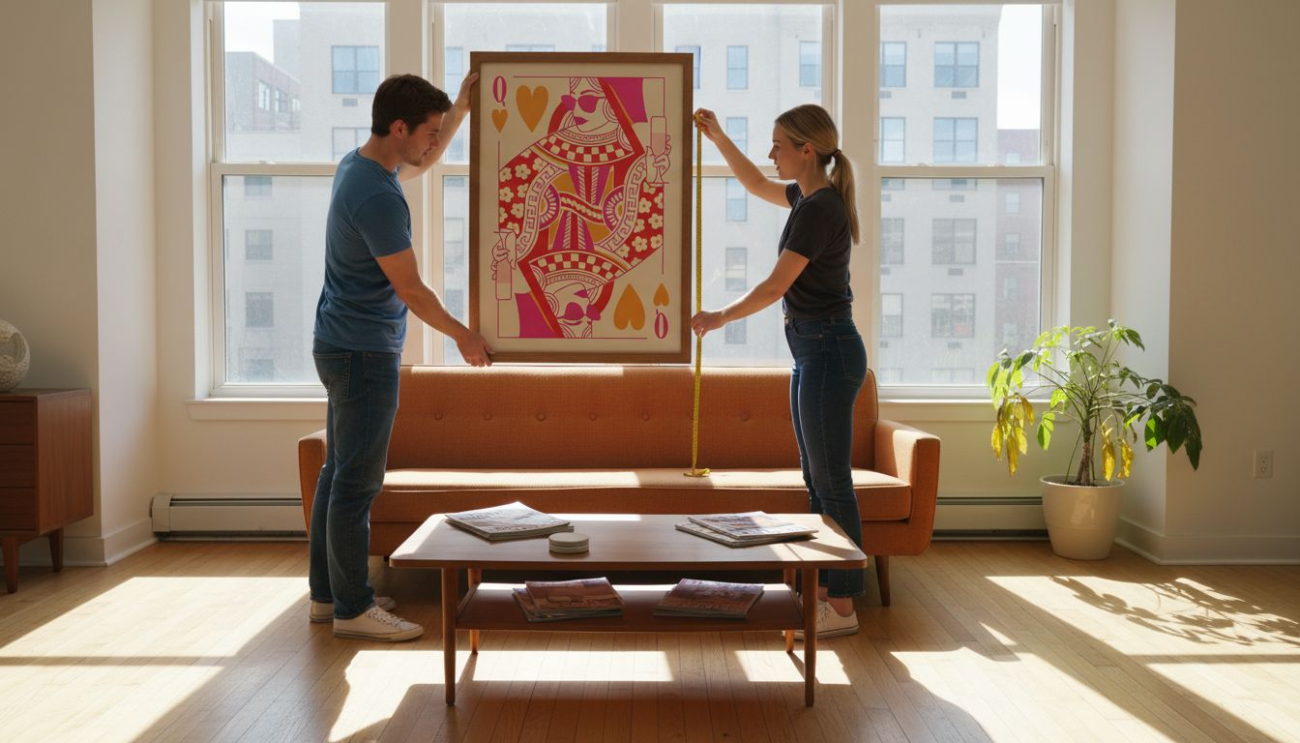
Step 4: Measure and mark for accurate placement
Precision is the secret weapon of professional art installers. Accurate wall art placement depends on careful measurement and strategic positioning that transforms your space from ordinary to extraordinary.
Start by determining the ideal vertical placement. The industry standard recommends positioning artwork at eye level approximately 57 to 60 inches from the floor. If hanging art above furniture measure the piece’s width and aim to cover two-thirds to three-quarters of the furniture’s width. Leave 6 to 12 inches between the bottom of the artwork and the top of the furniture to create a visually balanced composition. Use a measuring tape and level to mark light pencil guidelines ensuring your ArtMandre poster will hang perfectly straight.
Calculate the exact hanging point by measuring from the top of the artwork to the hanging hardware. This critical measurement helps you determine precisely where to place your nail or wall anchor. For gallery walls or multiple pieces consider creating paper templates to visualize the layout before making any permanent marks. Remember that a few minutes of careful measurement can prevent frustrating repositioning later.
Pro tip: Use painter’s tape to create a temporary outline of your artwork on the wall which allows you to visualize placement without leaving permanent marks.
Step 5: Hang your art and check alignment
Transforming your wall from blank canvas to stunning art display requires precision and patience. Professional art installation demands careful alignment to create a polished and visually appealing result.
Carefully position your ArtMandre poster and gently tap the nail or insert the wall anchor. Use a level to ensure the artwork sits perfectly horizontal checking both the top edge and overall placement. For gallery walls or multiple pieces maintain consistent spacing between frames typically 2 to 3 inches apart. Pay special attention to how the art relates to surrounding furniture and architectural elements ensuring a harmonious visual flow that enhances your room’s overall design.
After initial hanging step back and assess the artwork from different angles. Make small adjustments to the hanging hardware or wire as needed to achieve perfect alignment. Remember that lighting can dramatically impact how your art looks so consider the natural and artificial light sources in the room when finalizing placement.
Pro tip: Keep a small rubber mallet nearby to make minor adjustments and prevent wall damage when repositioning your art pieces.
Elevate Your Home Interiors with Perfectly Curated Wall Art
Hanging wall art can transform any blank space into a stunning reflection of your personality and style. If you want to avoid common challenges like incorrect placement or mismatched décor, choosing the right pieces from a trusted collection is essential. The article shows how proper measurement, layout planning, and selecting art that complements your room’s color and furniture brings harmony and balance to your home.

Discover unique vintage maps, retro cocktails, and Bauhaus-inspired prints that match your interior vision at ArtMandre. Take advantage of exclusive promotions like buy 2 get 1 free and find artworks that make professional hanging effortless and rewarding. Start your decorating journey now by exploring the best wall art for every living space at ArtMandre and check out tips on how to choose wall art that complements your home design for deeper inspiration.
Frequently Asked Questions
How do I choose the right size of wall art for my space?
Choosing the right size of wall art involves considering the scale of your room and the dimensions of your wall. Aim for artwork that occupies about 50 to 75 percent of the available wall width; for instance, if you have a 60-inch-wide wall, look for pieces that are around 30 to 45 inches wide. Measure your wall space before making a purchase to ensure a harmonious fit.
What tools do I need to hang wall art correctly?
To hang wall art securely, you will need essential tools like a tape measure, level, hammer or electric drill, and appropriate wall anchors. Gather these tools before you start to simplify the installation process and ensure that each piece is properly supported and aligned for a polished look.
What is the best height to hang wall art?
The ideal height for hanging wall art is generally around 57 to 60 inches from the floor for eye level placement. If you are placing art above furniture, position it so that it covers about two-thirds to three-quarters of the furniture’s width, leaving 6 to 12 inches between the artwork and the top of the furniture for balance.
How can I create a cohesive gallery wall layout?
To create a cohesive gallery wall layout, start by selecting a focal point and arranging your artwork with careful attention to size and spacing. Maintain 2 to 3 inches between pieces and mix different sizes and orientations to add visual interest while ensuring an overall sense of balance. Use paper templates to visualize your layout before making permanent marks on the wall.
What precautions should I take while hanging heavy art pieces?
When hanging heavy art pieces, use wall anchors and screws rated to support at least 1.5 times the weight of the artwork. Properly assess your wall material, as drywall requires different anchoring techniques compared to brick or plaster, to avoid damaging your walls or artwork during installation.
How do I ensure my wall art is level and aligned?
To ensure your wall art is level and aligned, use a level tool after hanging and make minor adjustments as needed. Check the top edge and the overall placement from various angles, making sure it complements surrounding furniture and architecture for a harmonious visual flow.